
Your new assignment is a field mission utilizing the rule of thirds. Details are below.
Rule Of Thirds Field Mission:
Create 10 Photographs using the rule of thirds. You must properly compose, expose and capture pictures of the following subjects:
Subject Specifications:
- A person facing the camera, portrait closeup
- 2 people framed in the camera
- A group of 3 or more people
- A closeup image of someones hand/hands doing something (drawing, digging, making)
- A still life of found objects
- A landscape view
- A tree, flower or other natural element
- An architectural element
- Something shiny and new
- Something old and decayed
Assignment Specifications:
- Shoot at least 10 images of each subject to obtain the best composition, exposure and quality. Post the best version of each.
- You may shoot with any mode as long as your image is exposed correctly.
- Using Photoshop, crop your photos appropriately if you need to.
- Choose 3 of your best images and overlay a rule of thirds grid on top. Use the line tool or pencil tool to draw the simple grid. Screenshot and add your EXIF data of each final image to confirm manual mode.
To See A Rule Of Thirds Grid in Photoshop:
- View > Show > Grid
- Go to Photoshop > Preferences > Guides, Grids and Slices
- Set: Gridline to 33.3333 Percent
- Set: Subdivisions to 1
- This will show the grid, you will need to "draw" the grid on your image is with the line/pencil/brush tool and use as color that will show up against your image with good contrast.
- Save an alternate version of your file so you have 3 examples with and without the R.O.T. grid.
Student Work Examples:


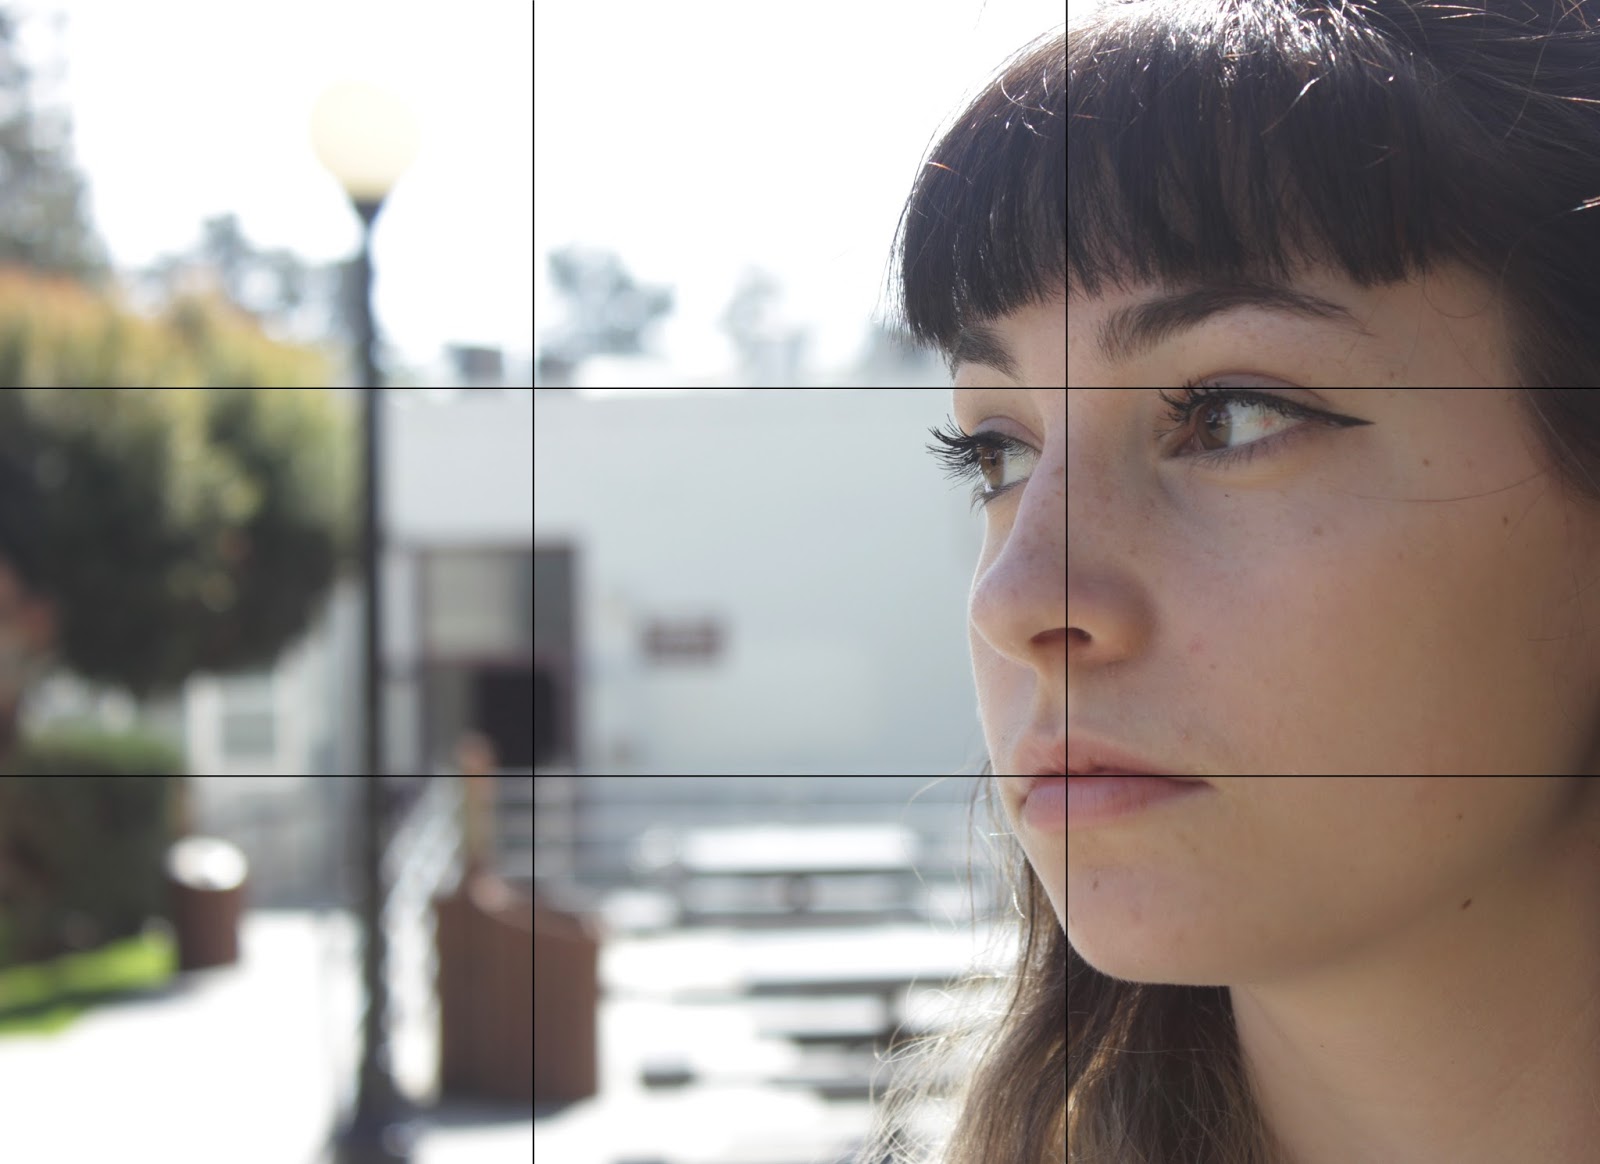


Have fun! - Mr.W

